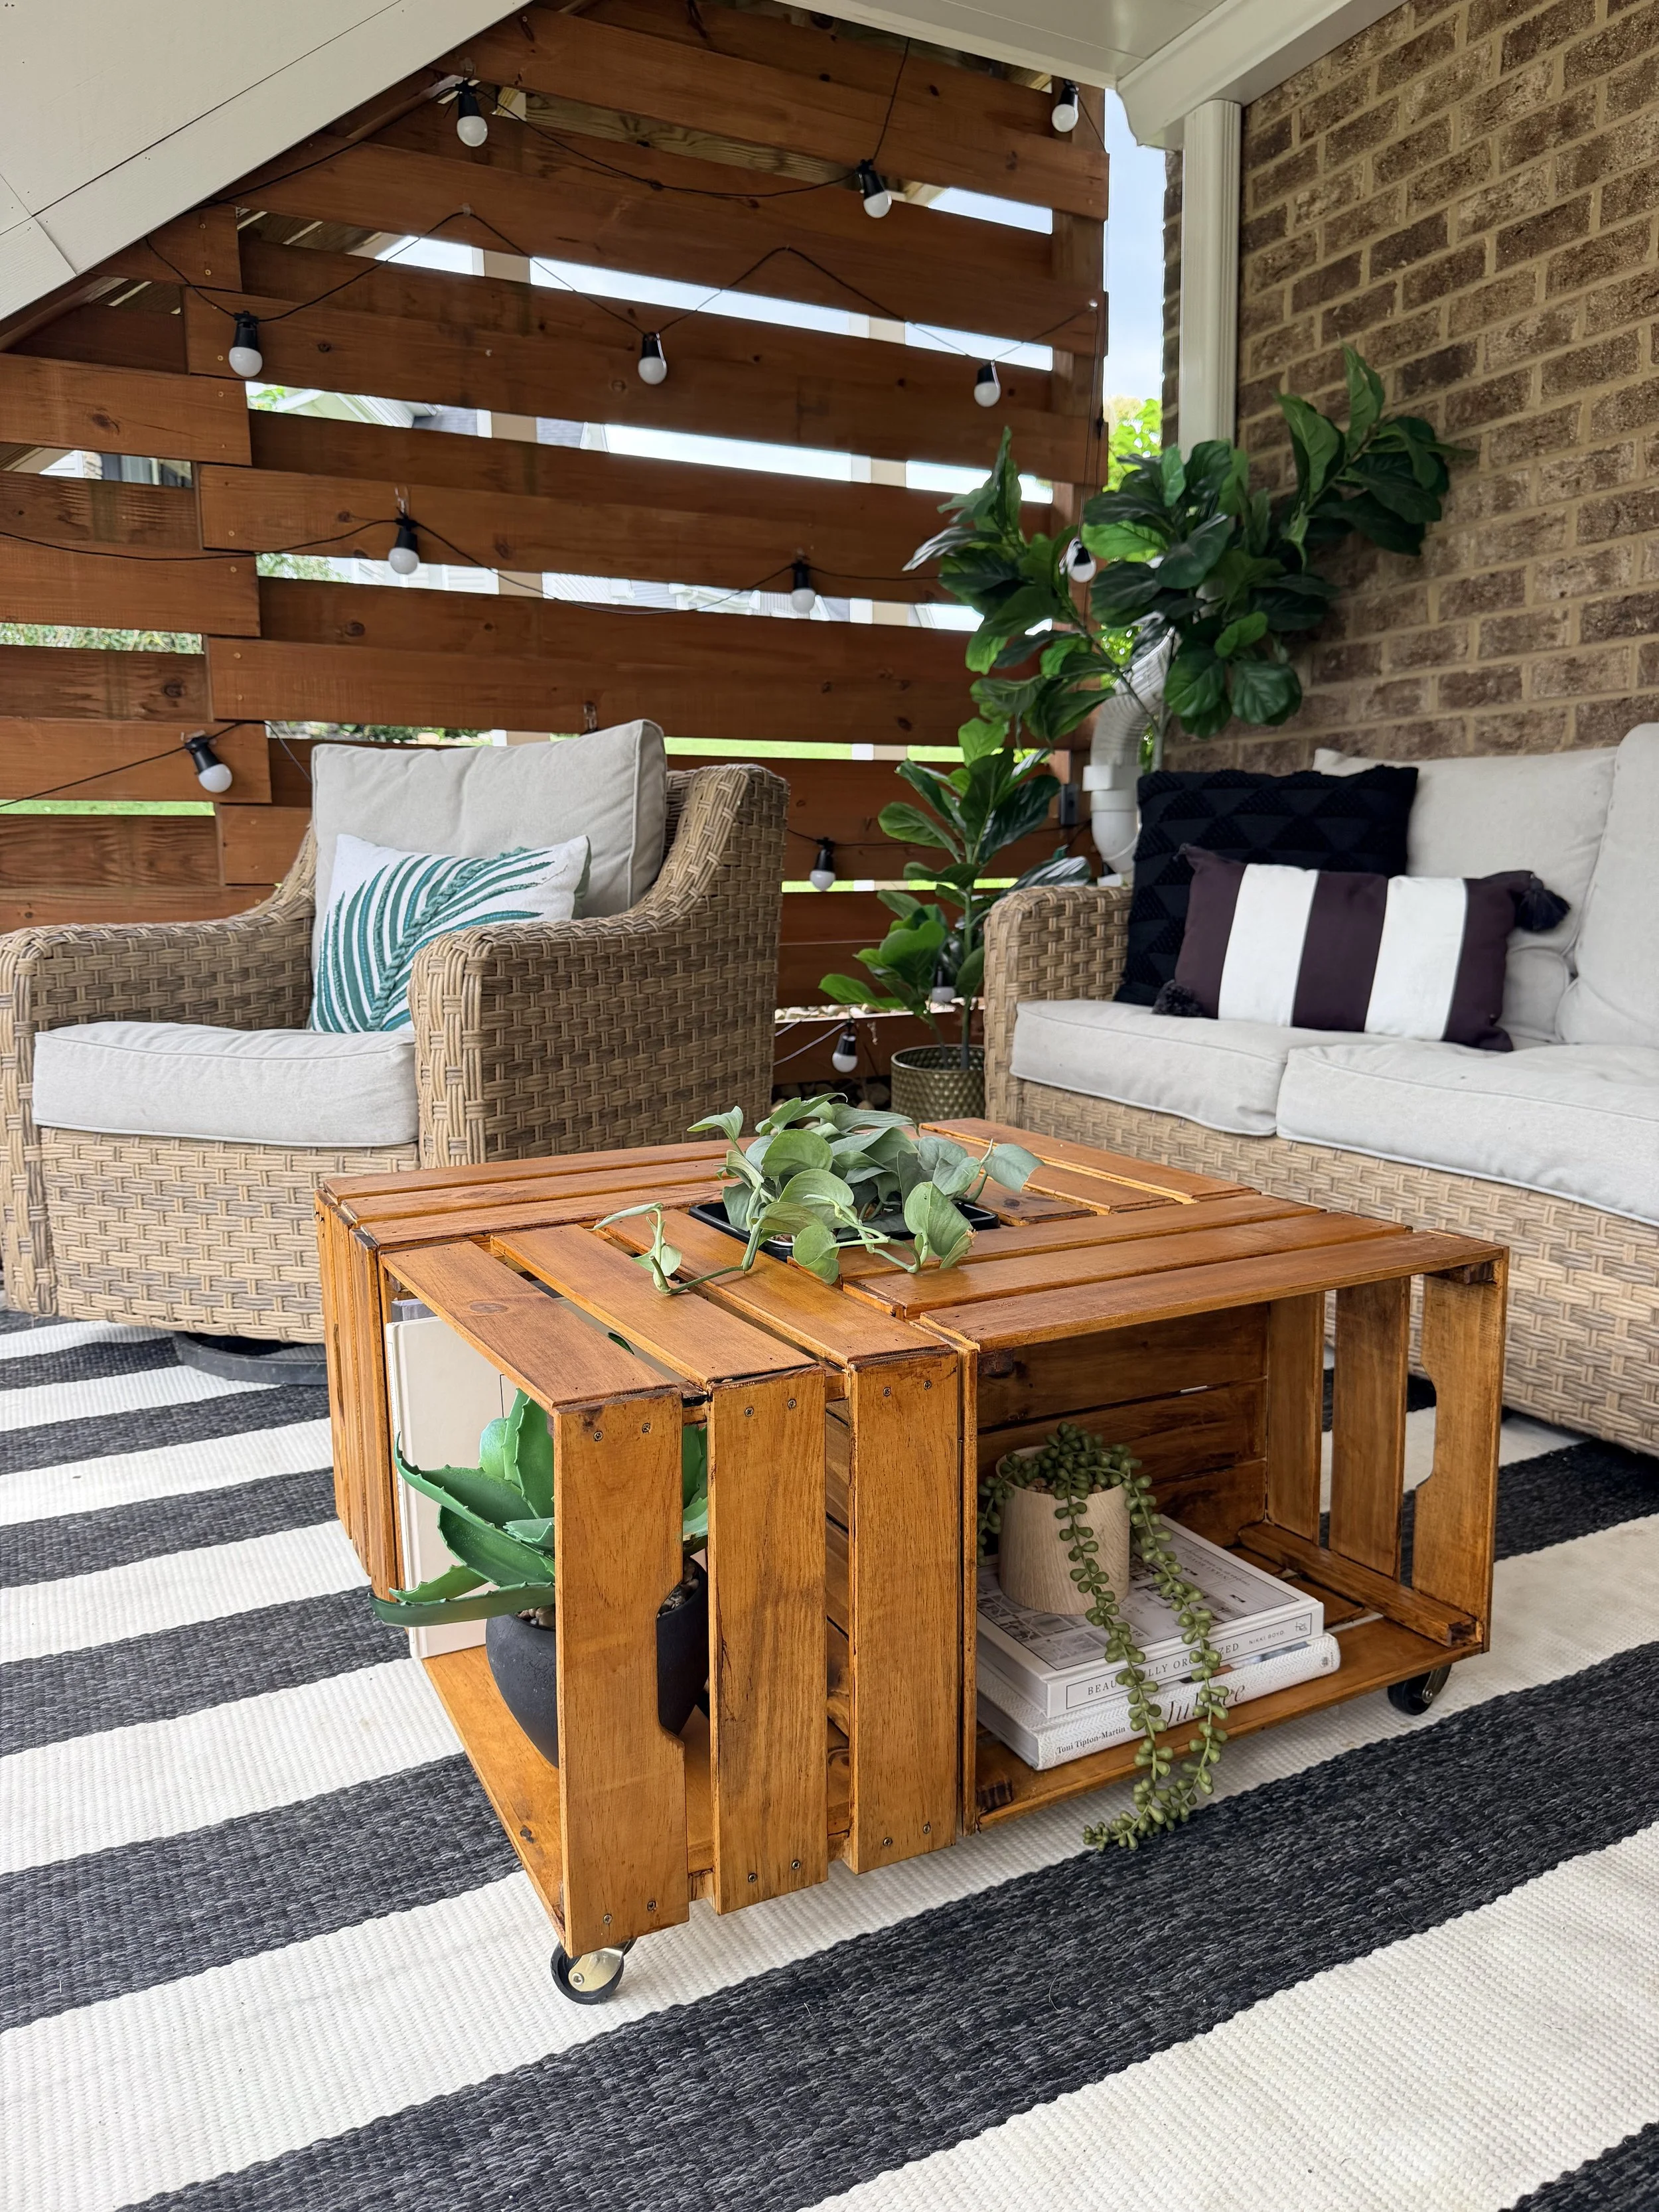
DIY IKEA Crate Coffee Table with Interchangeable Center Planter
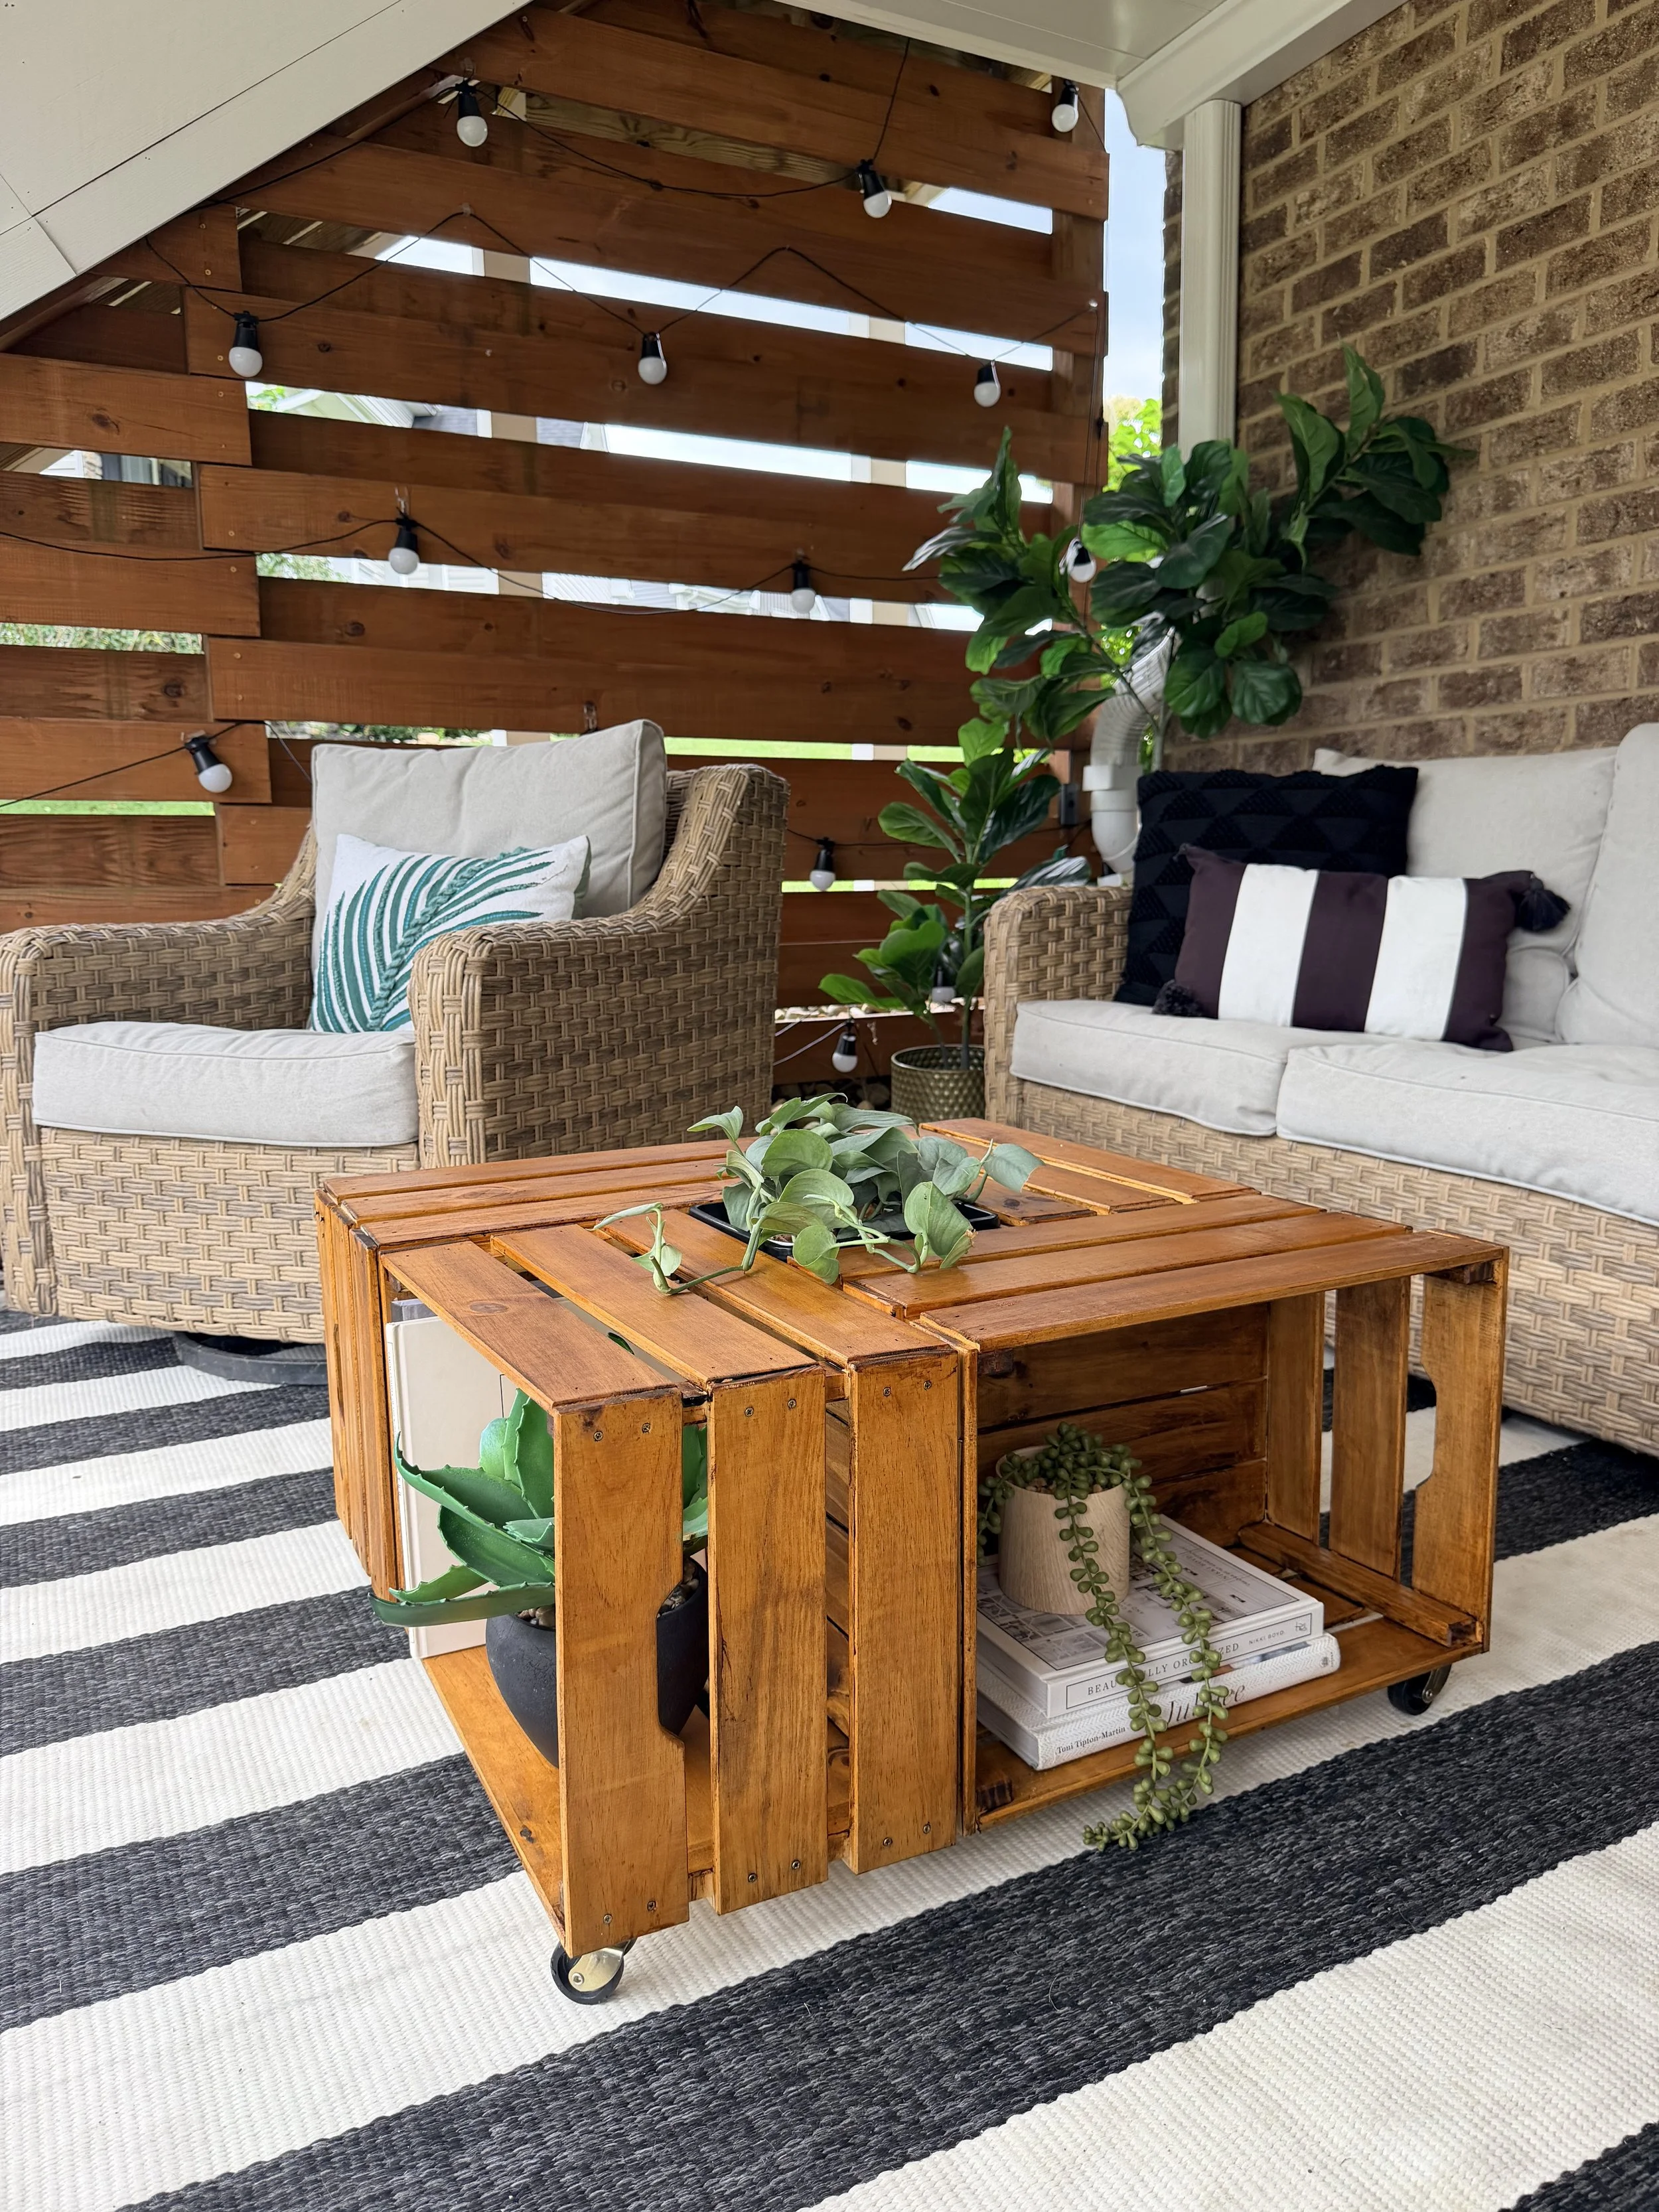
I love a good DIY challenge, and when I was invited to join a Flip Battle alongside two incredibly talented DIY creators…I was in!
The challenge: We all had to take the classic IKEA KNAGGLIG wooden crates and completely transform them into something totally new.
There are so many fun things you can do with wooden crates, but I ultimately decided to build a fully functional outdoor coffee table with hidden storage and an interchangeable center setup.
Here is exactly how I built it step-by-step!
Materials & Tools
4 IKEA Wooden Crates (plus 1 extra for scrap wood but not necessary!)
Wood Glue & 1 1/4-inch Finish Nails (plus a nail gun)
4 Caster Wheels & mounting screws
Planter Pots (sized to sit right inside the center cutout)
Step 1: Assemble & Add Extra Support First up, assemble your four main IKEA crates. They unfortunately came disassembled, so I had to first put them together.
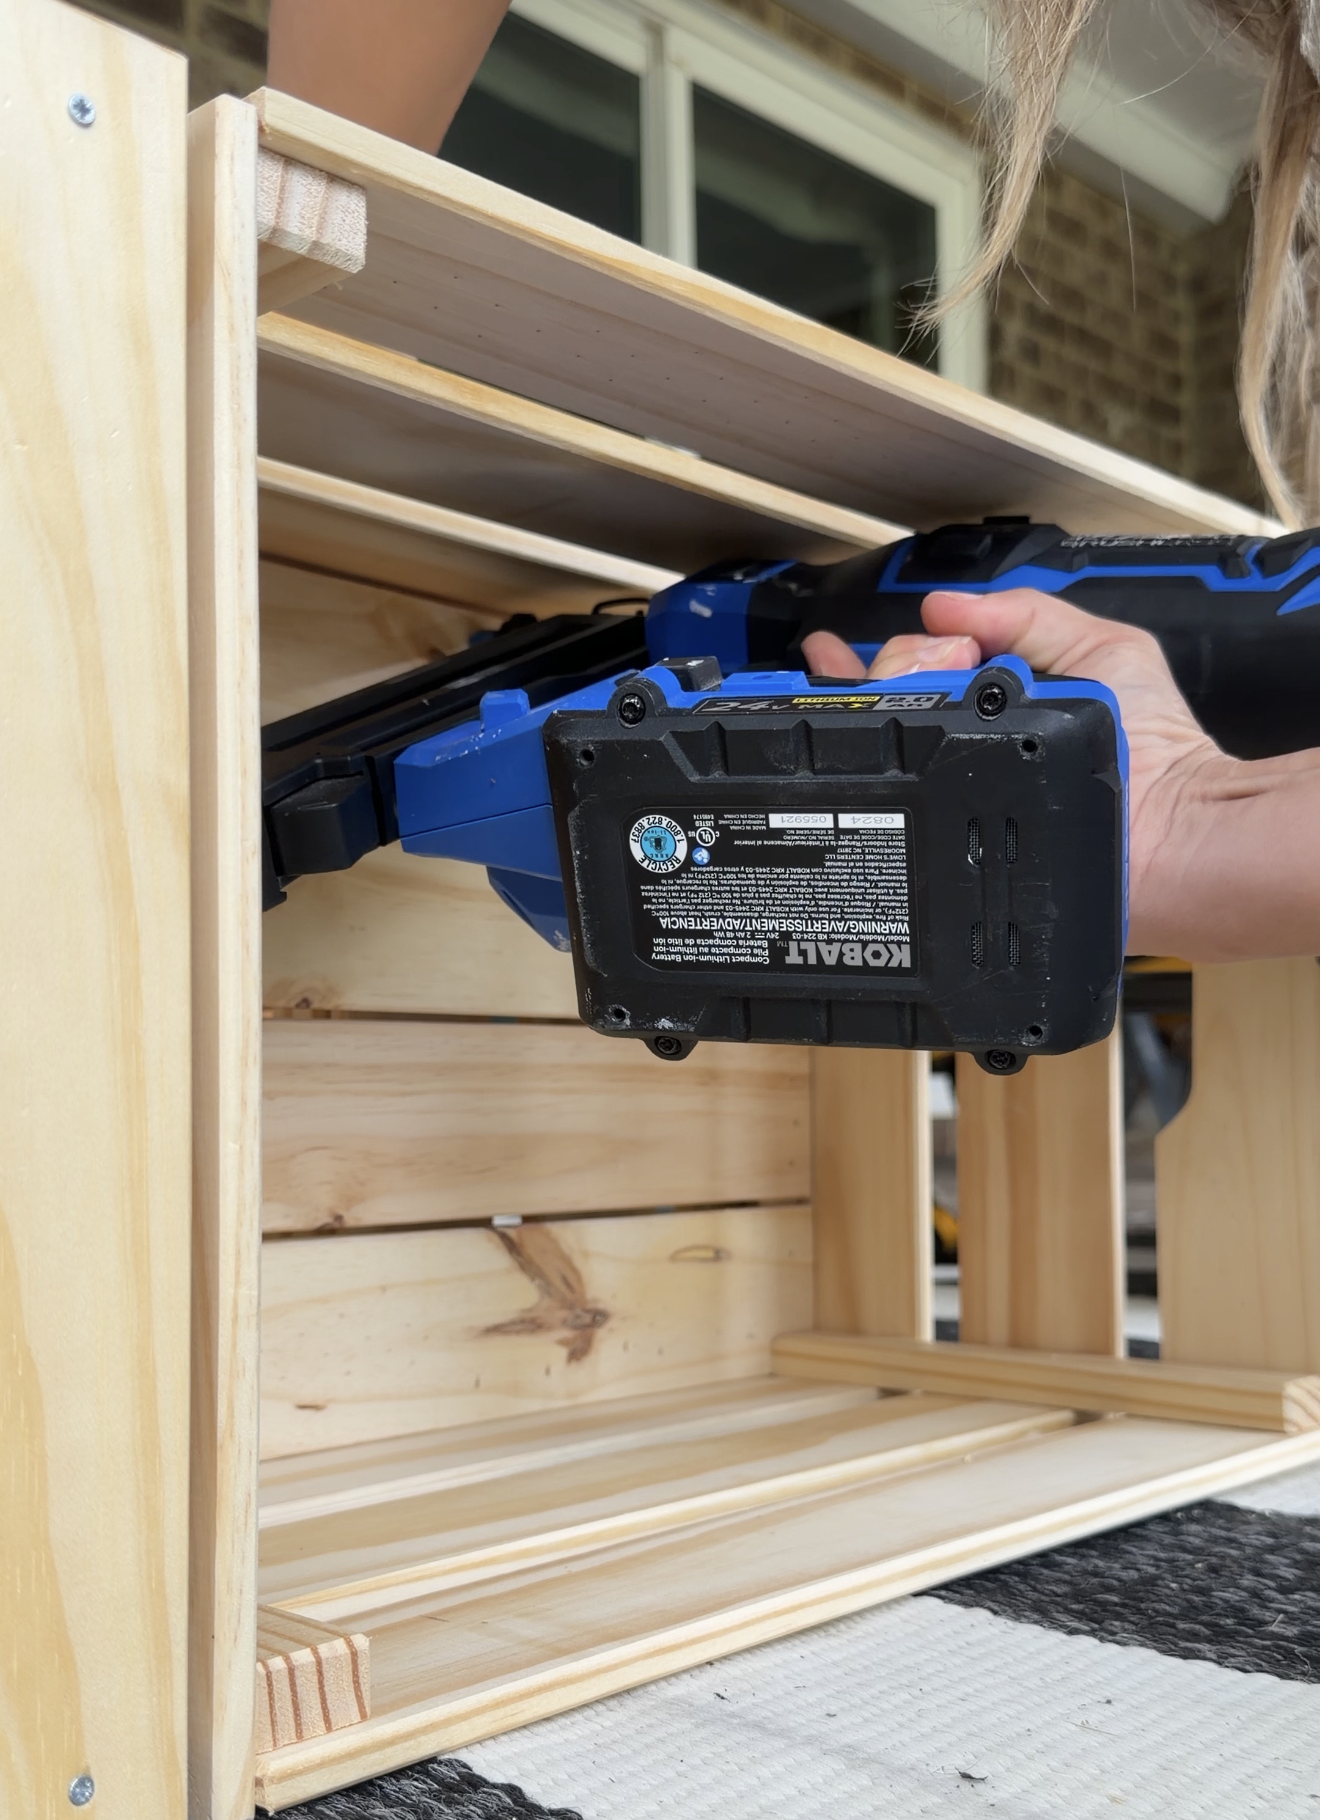
Optional Prep Step: The bottom edges of these crates naturally sit with a slight inset gap rather than completely flush. Because I had two extra crates lying around, I broke them down for spare wood slats and attached them directly to the bottoms using a nail gun and 1-inch nails. You can totally skip this step, but adding that extra wood gives you a completely flush surface, way more stability, and an easier target when nailing everything together.
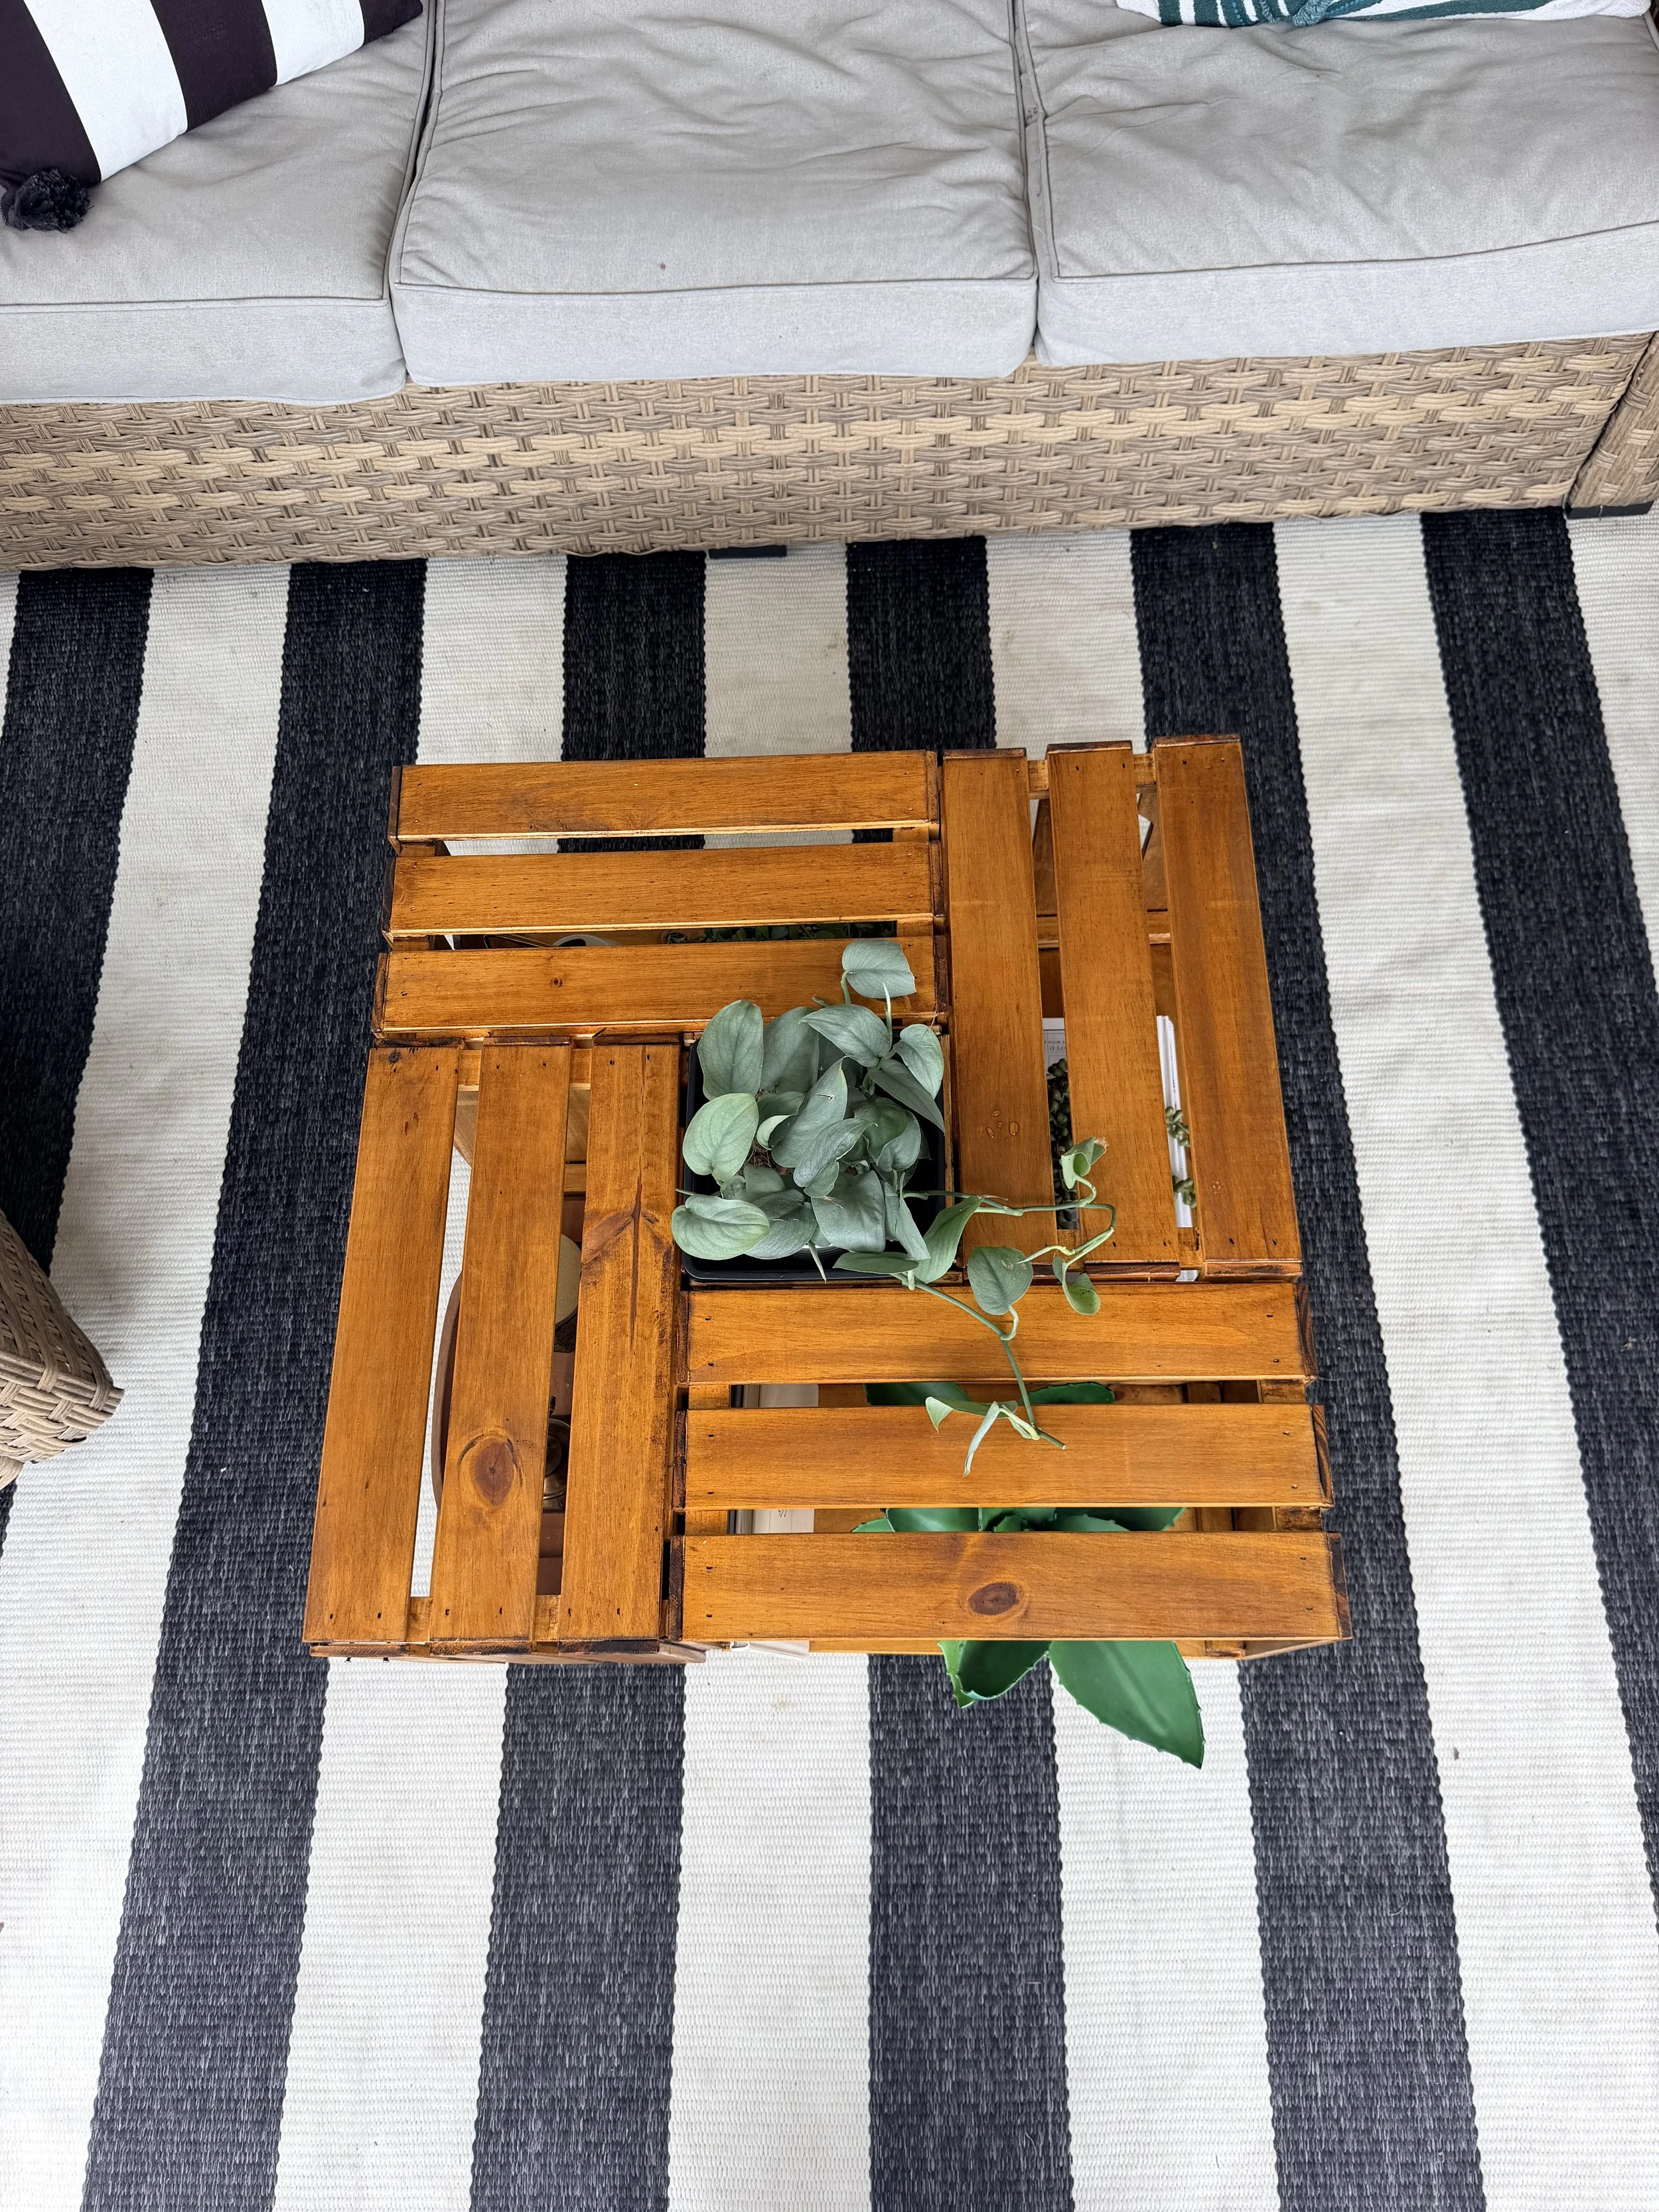
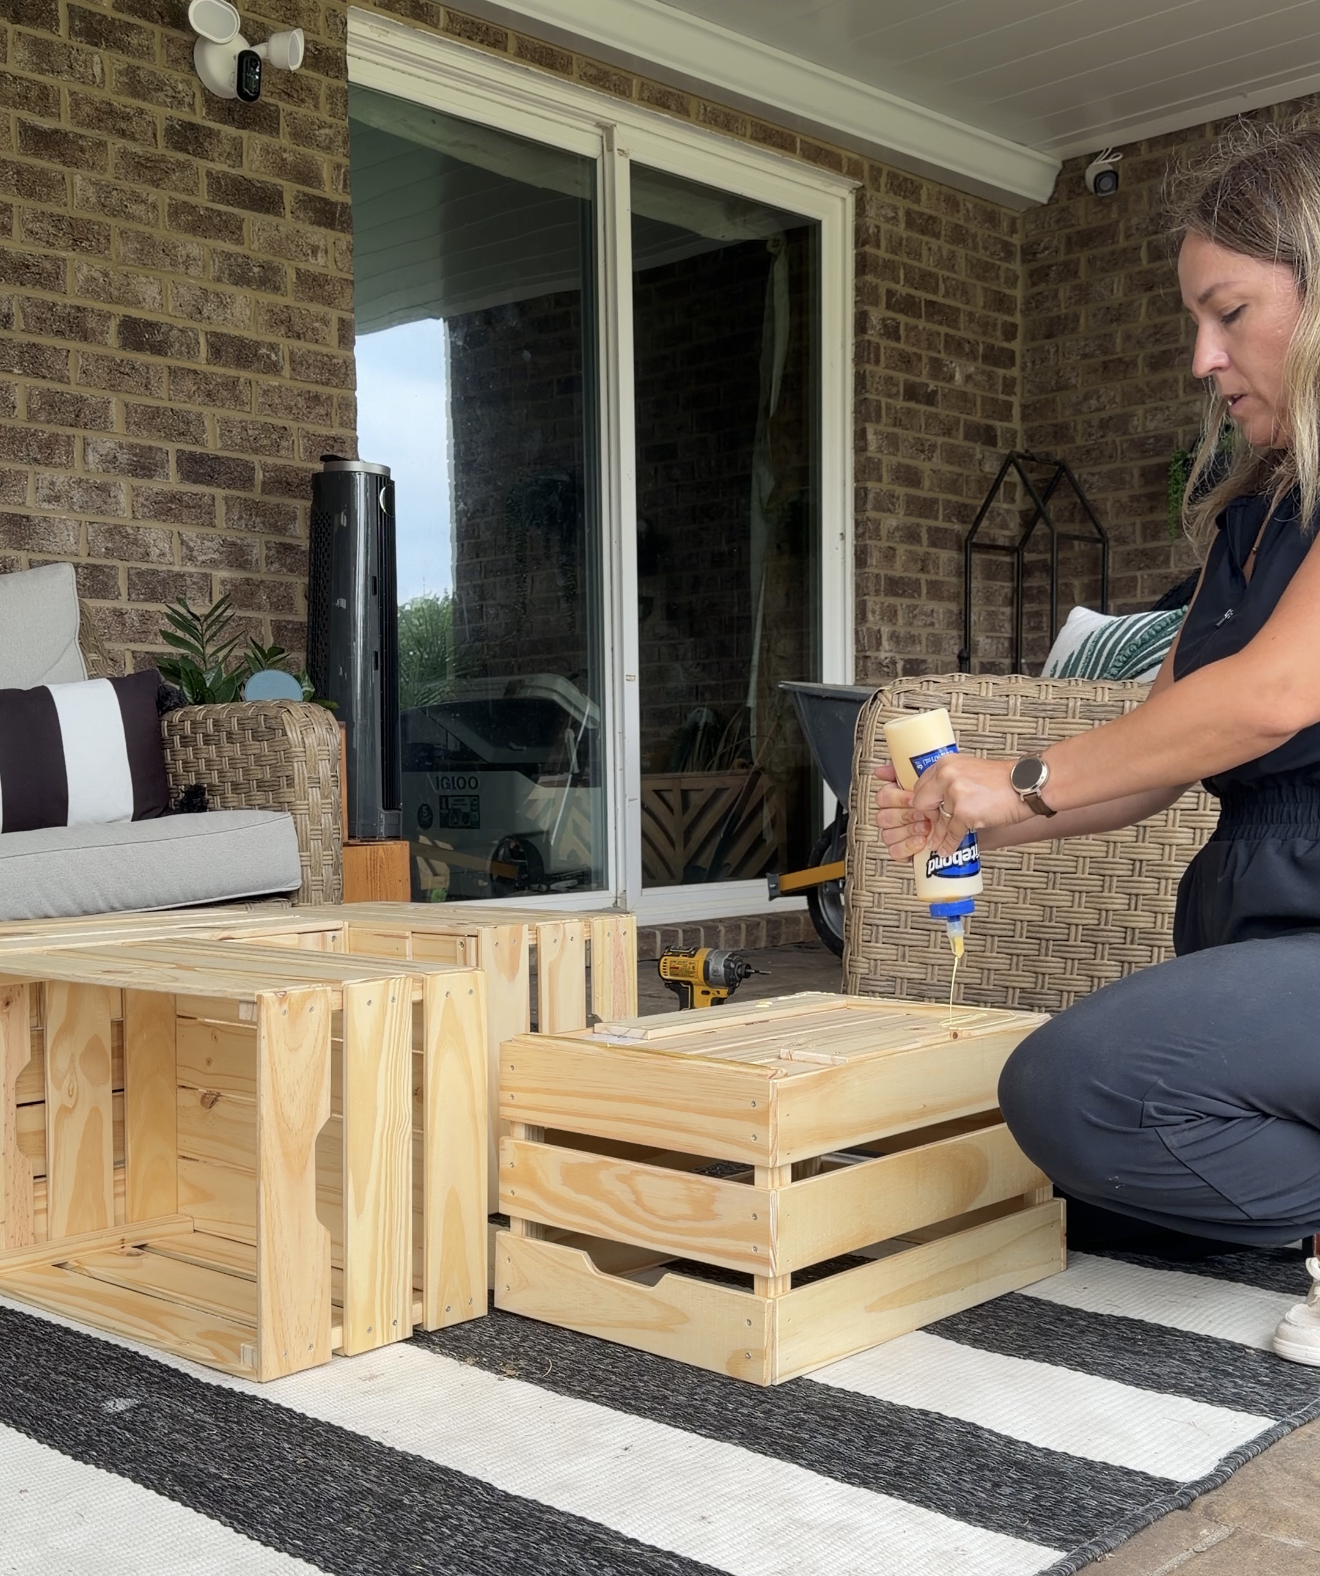
Step 2: Lock into a Pinwheel Pattern Arrange your four crates in a square pinwheel layout—positioning them so each open storage cubby faces outward, which leaves a hollow square pocket right in the center.
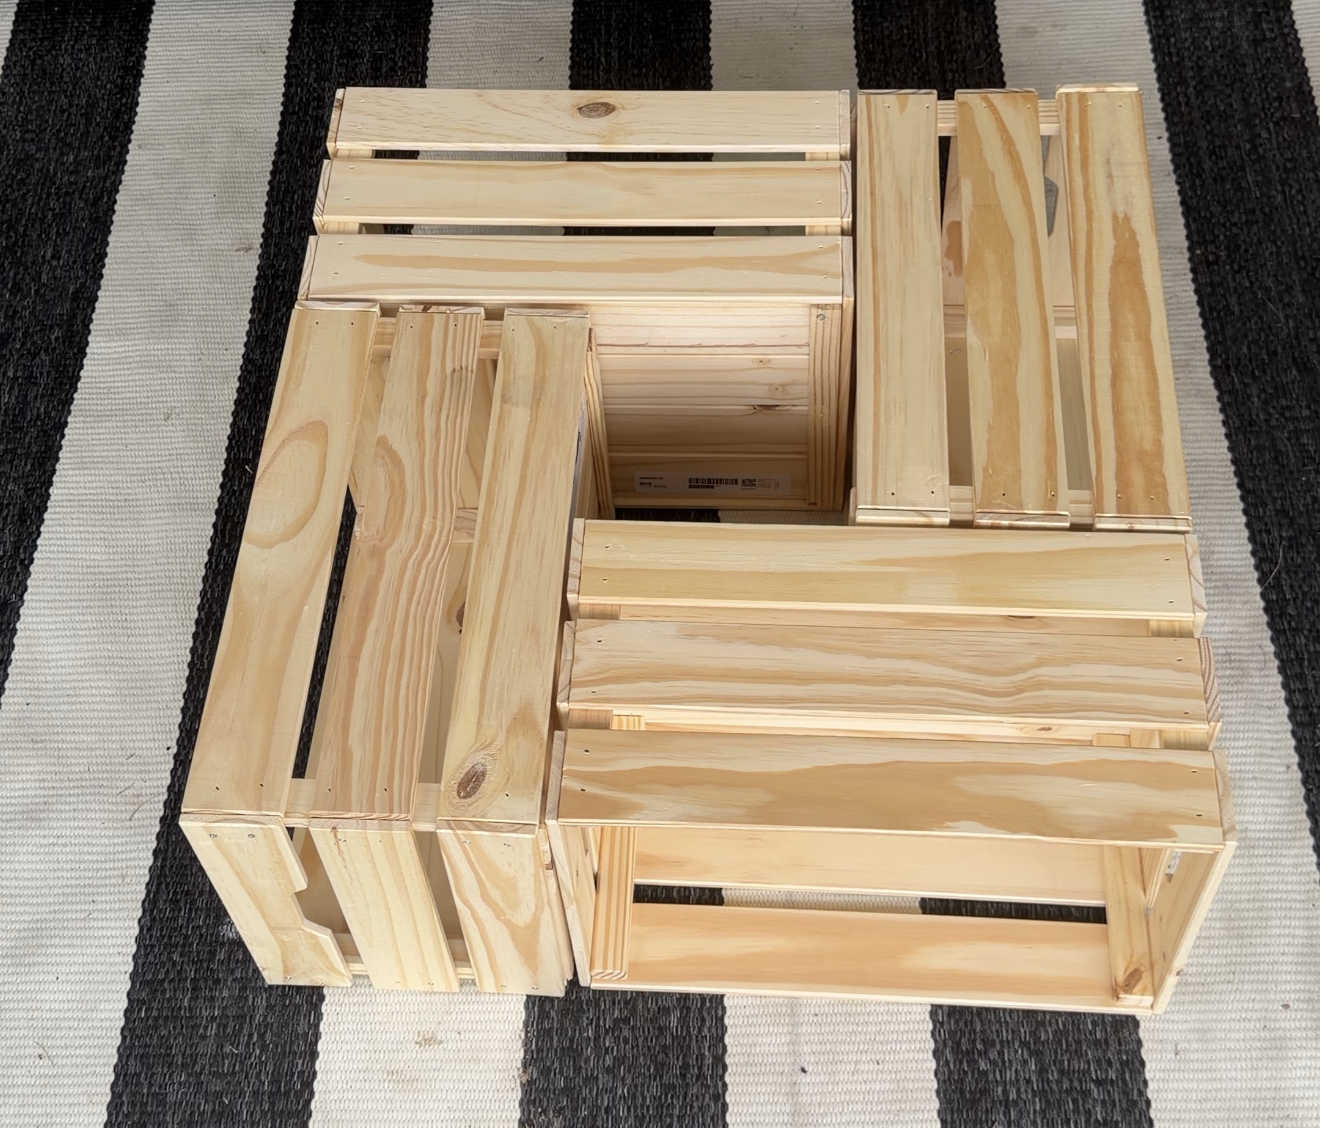
Run wood glue along every touching panel, then use 1-inch black nails to tack all four crates together into one rock-solid base.
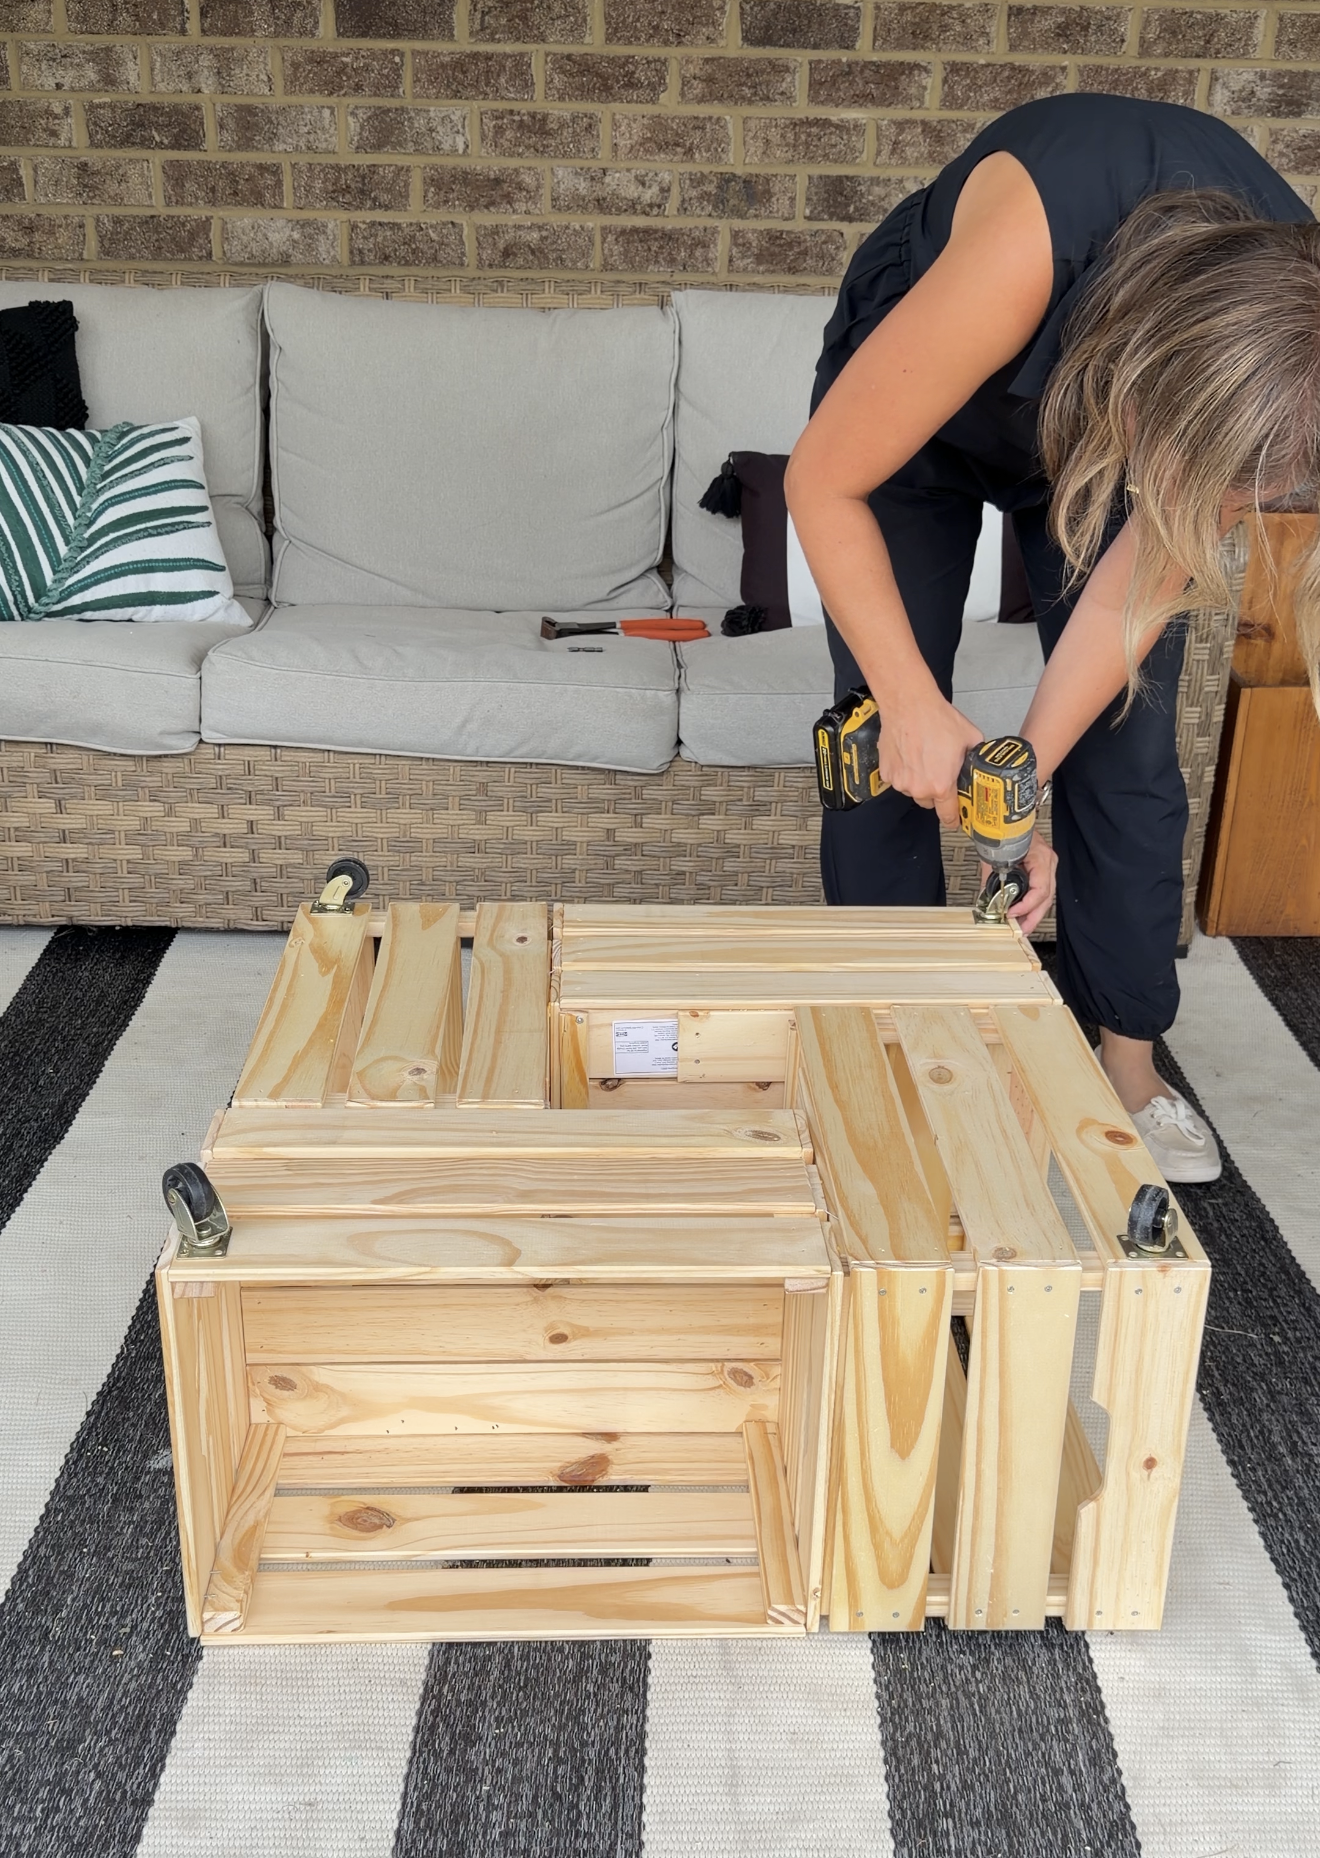
Step 3: Add Height & Mobility Flip the entire assembly upside down. Standard IKEA crates sit pretty low on their own, so adding four caster wheels to the bottom corners is a game-changer. It brings the table right up to normal coffee-table height and makes it super easy to roll across the patio or spin it around.
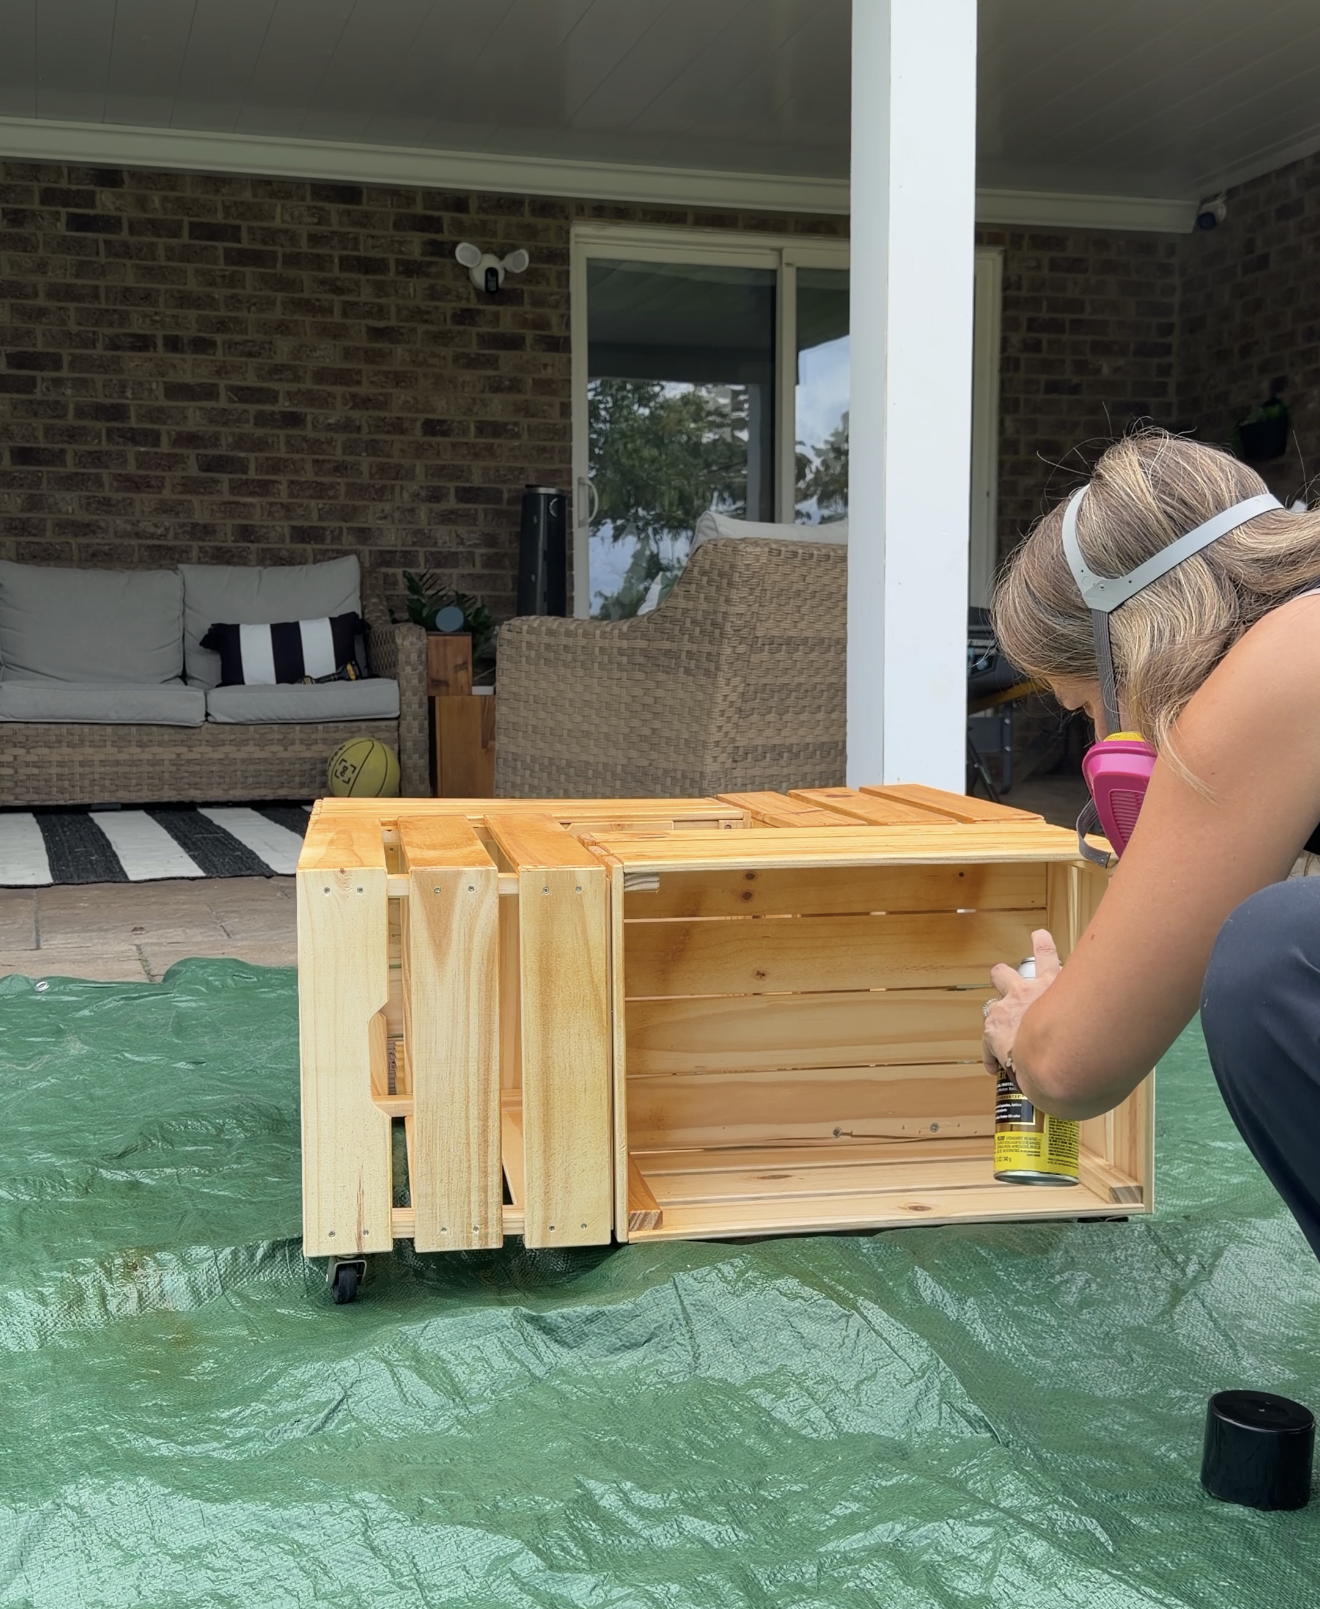
Step 4: Save Time with Spray Stain Hand-staining all those narrow crate slats and wiping down every single nook and cranny takes forever. To speed things up, I used an exterior-grade spray stain. It gets into every deep corner effortlessly and makes the staining process a breeze.
Note: I did give it a quick sand with 220 grit sandpaper before staining.
Step 5: Build the Drop-In Center Nail four small wooden scrap pieces along the lower inside rim of the center cutout. I used some wood glue and 1inch brad nails to attach these, and then stained them to match the rest of the coffee table. To save some time, you might want to do this before you stain!
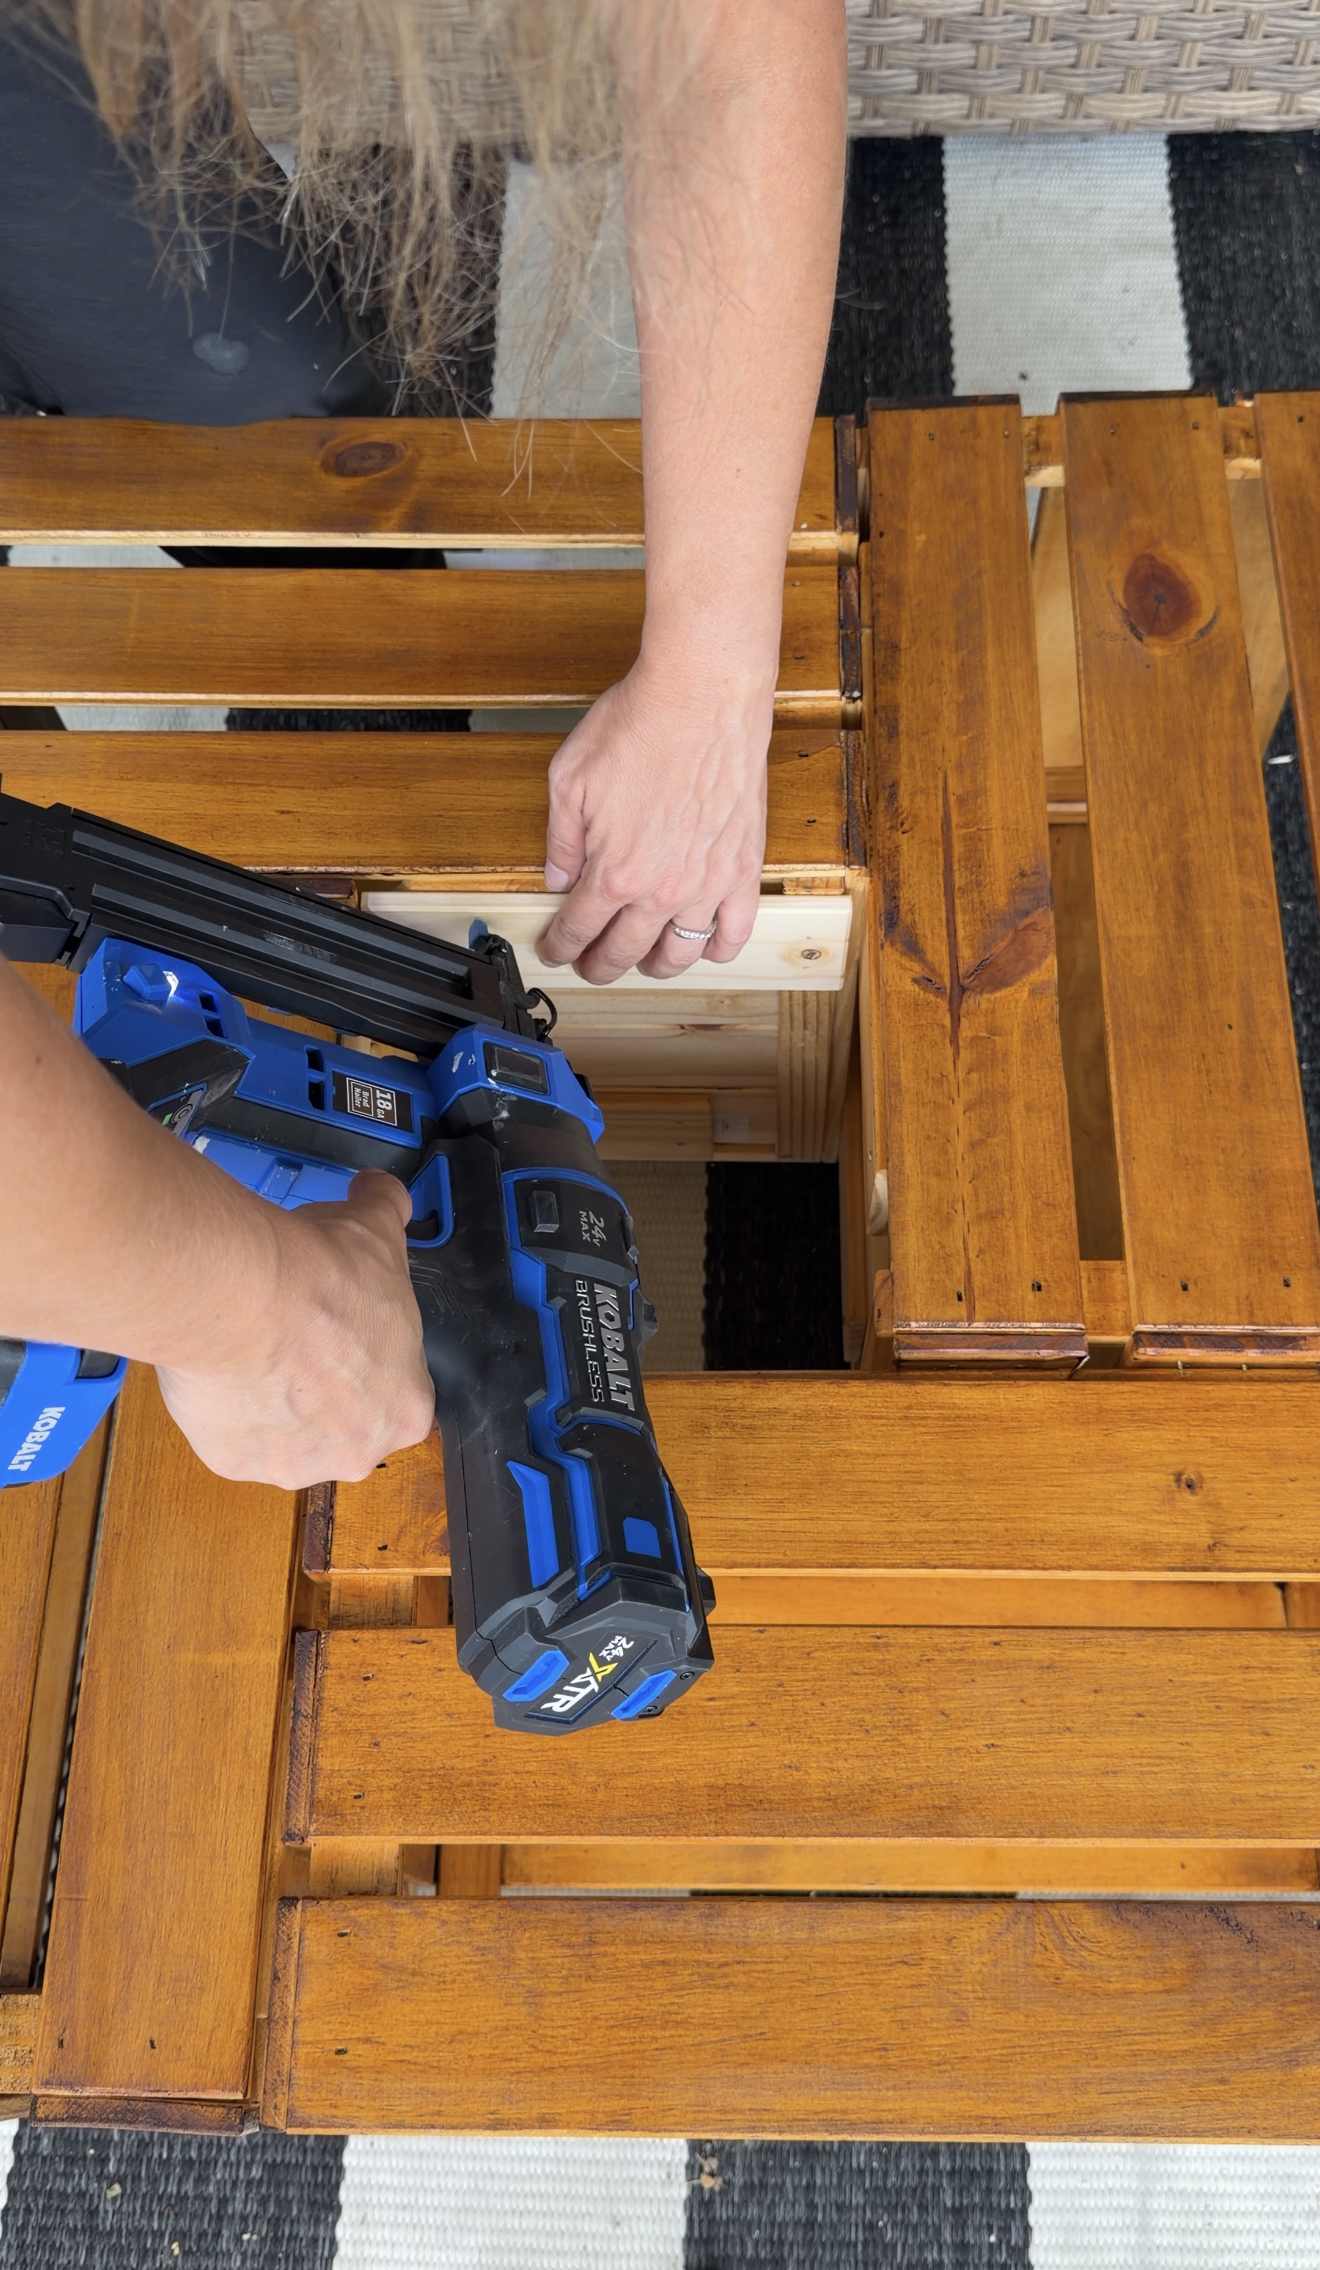
This creates a quick ledge so your pots sit securely in place without falling through.
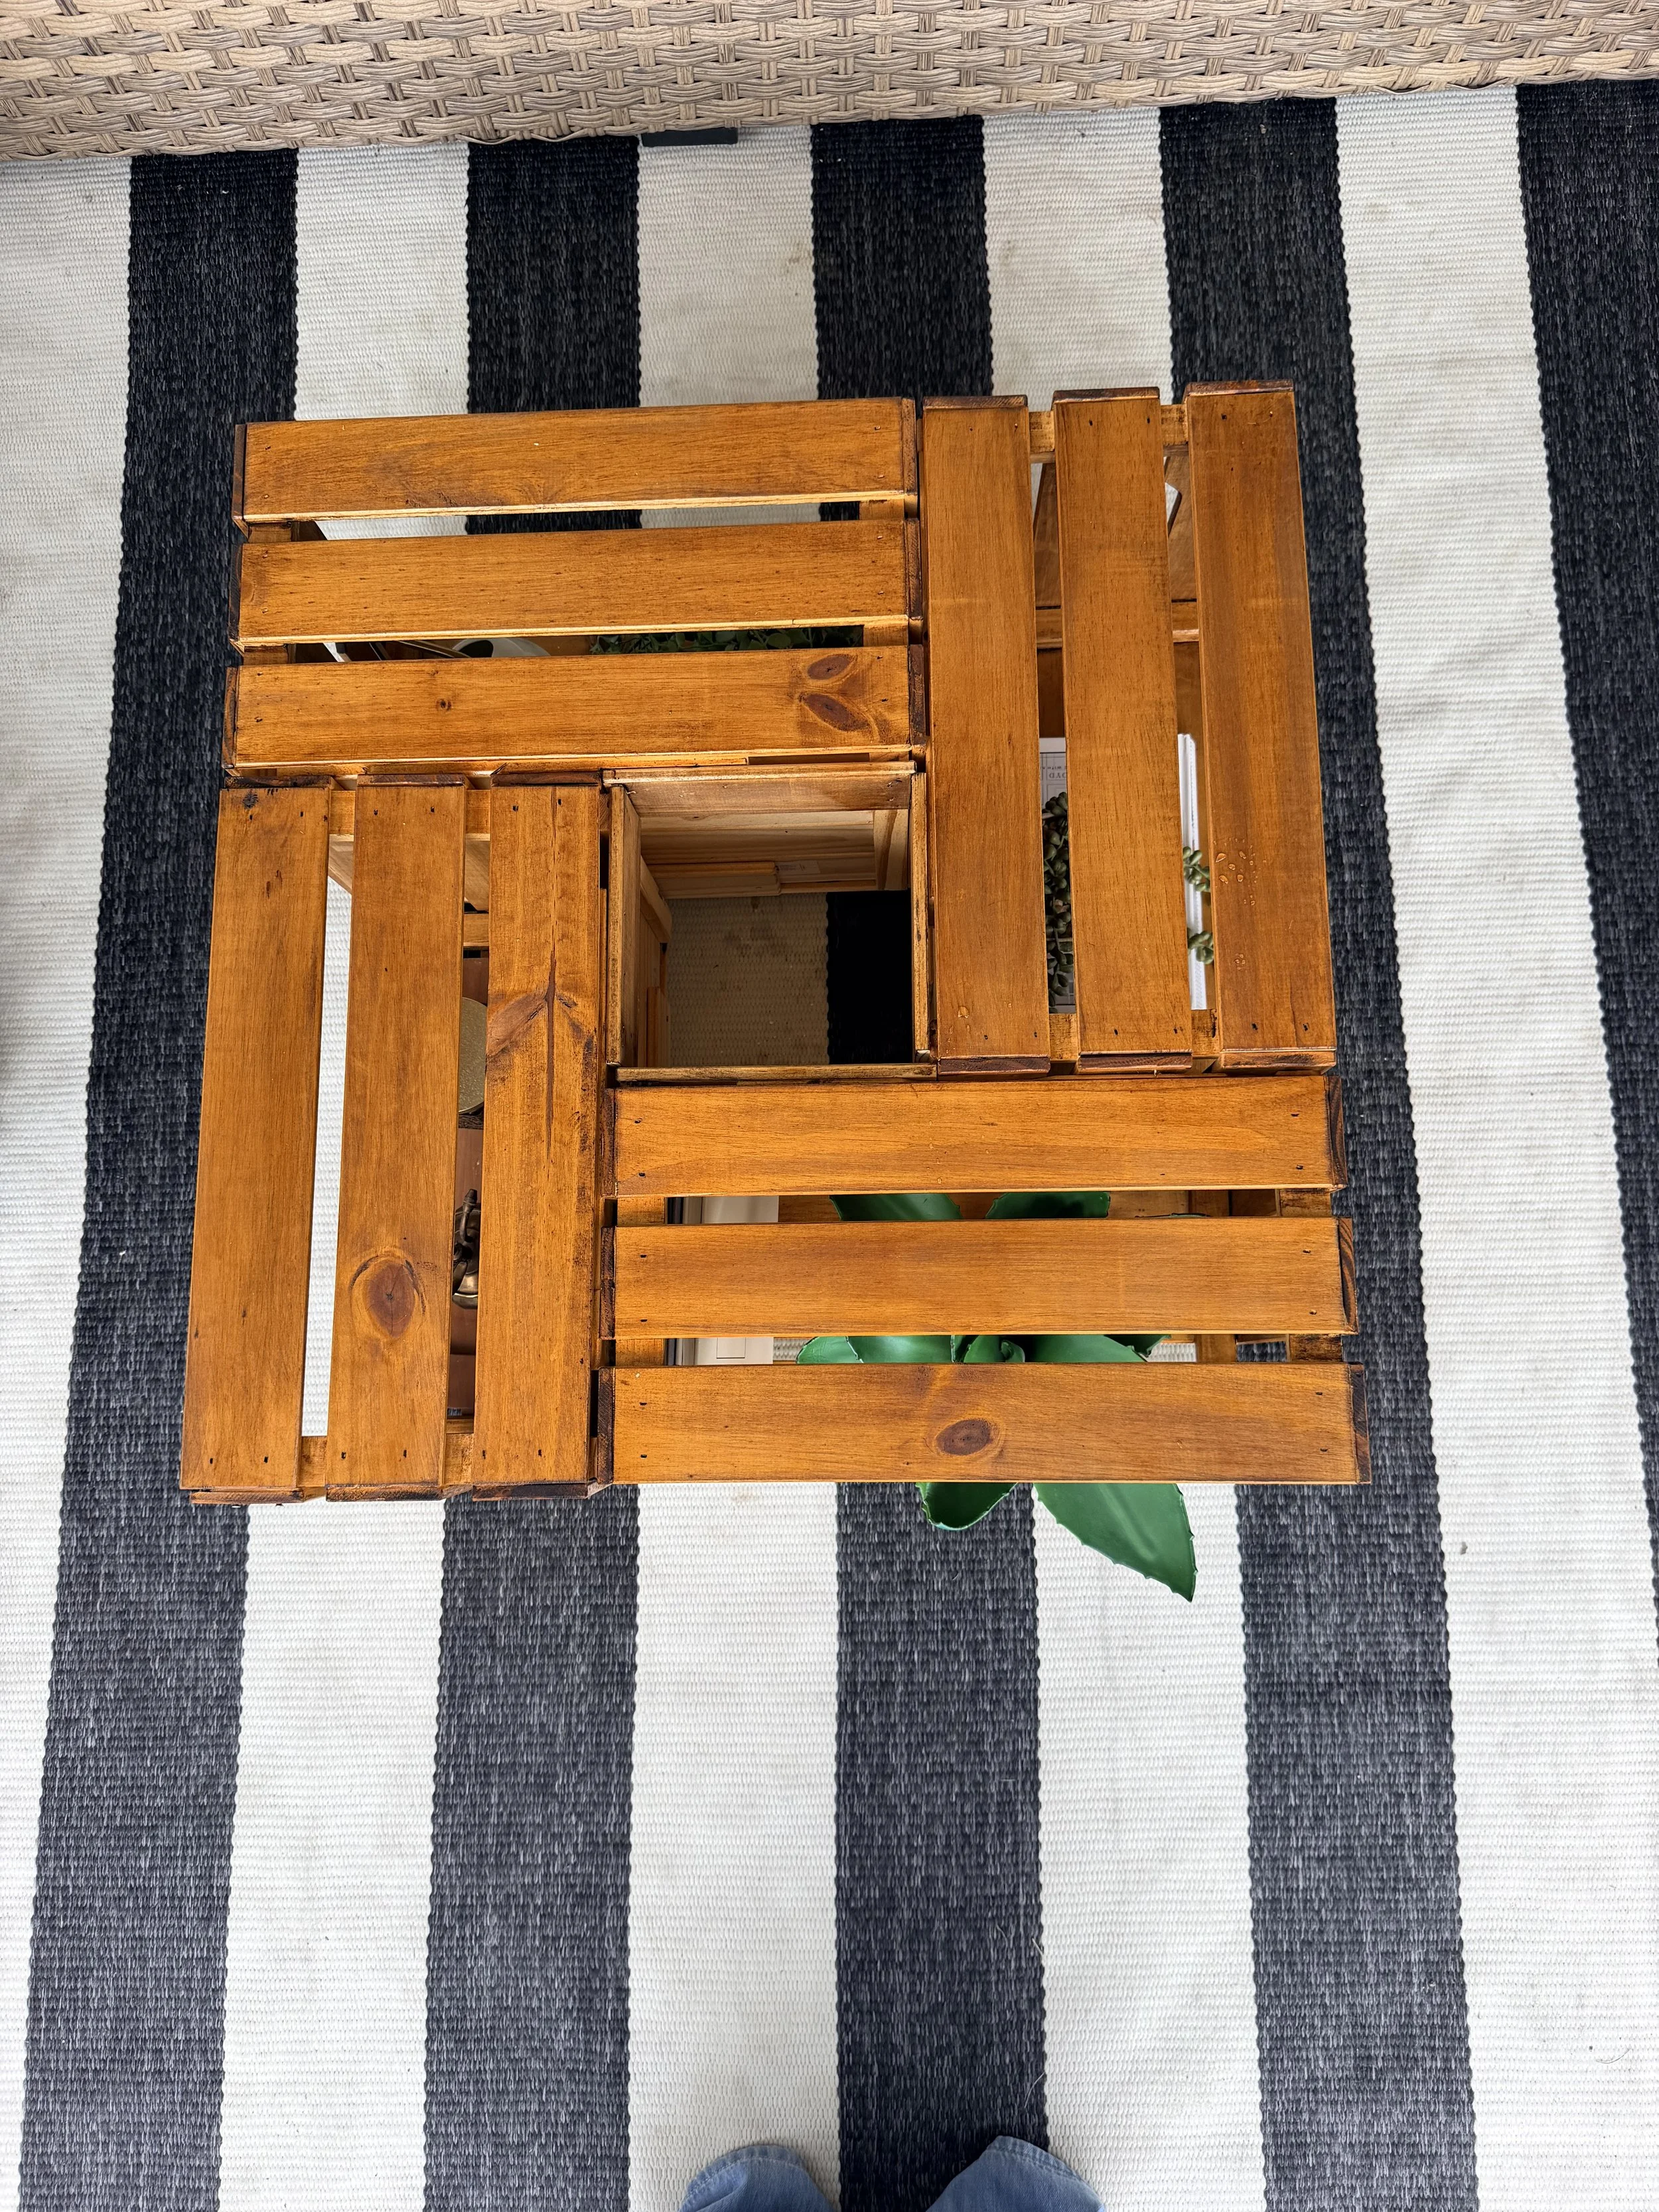
I found the perfect planters to fit in this space. It comes in a pack of 7 though but it gives you lots of options for styling the center!
Styling the Center Cavity
The best part of winning a flip battle is making something as versatile as possible:
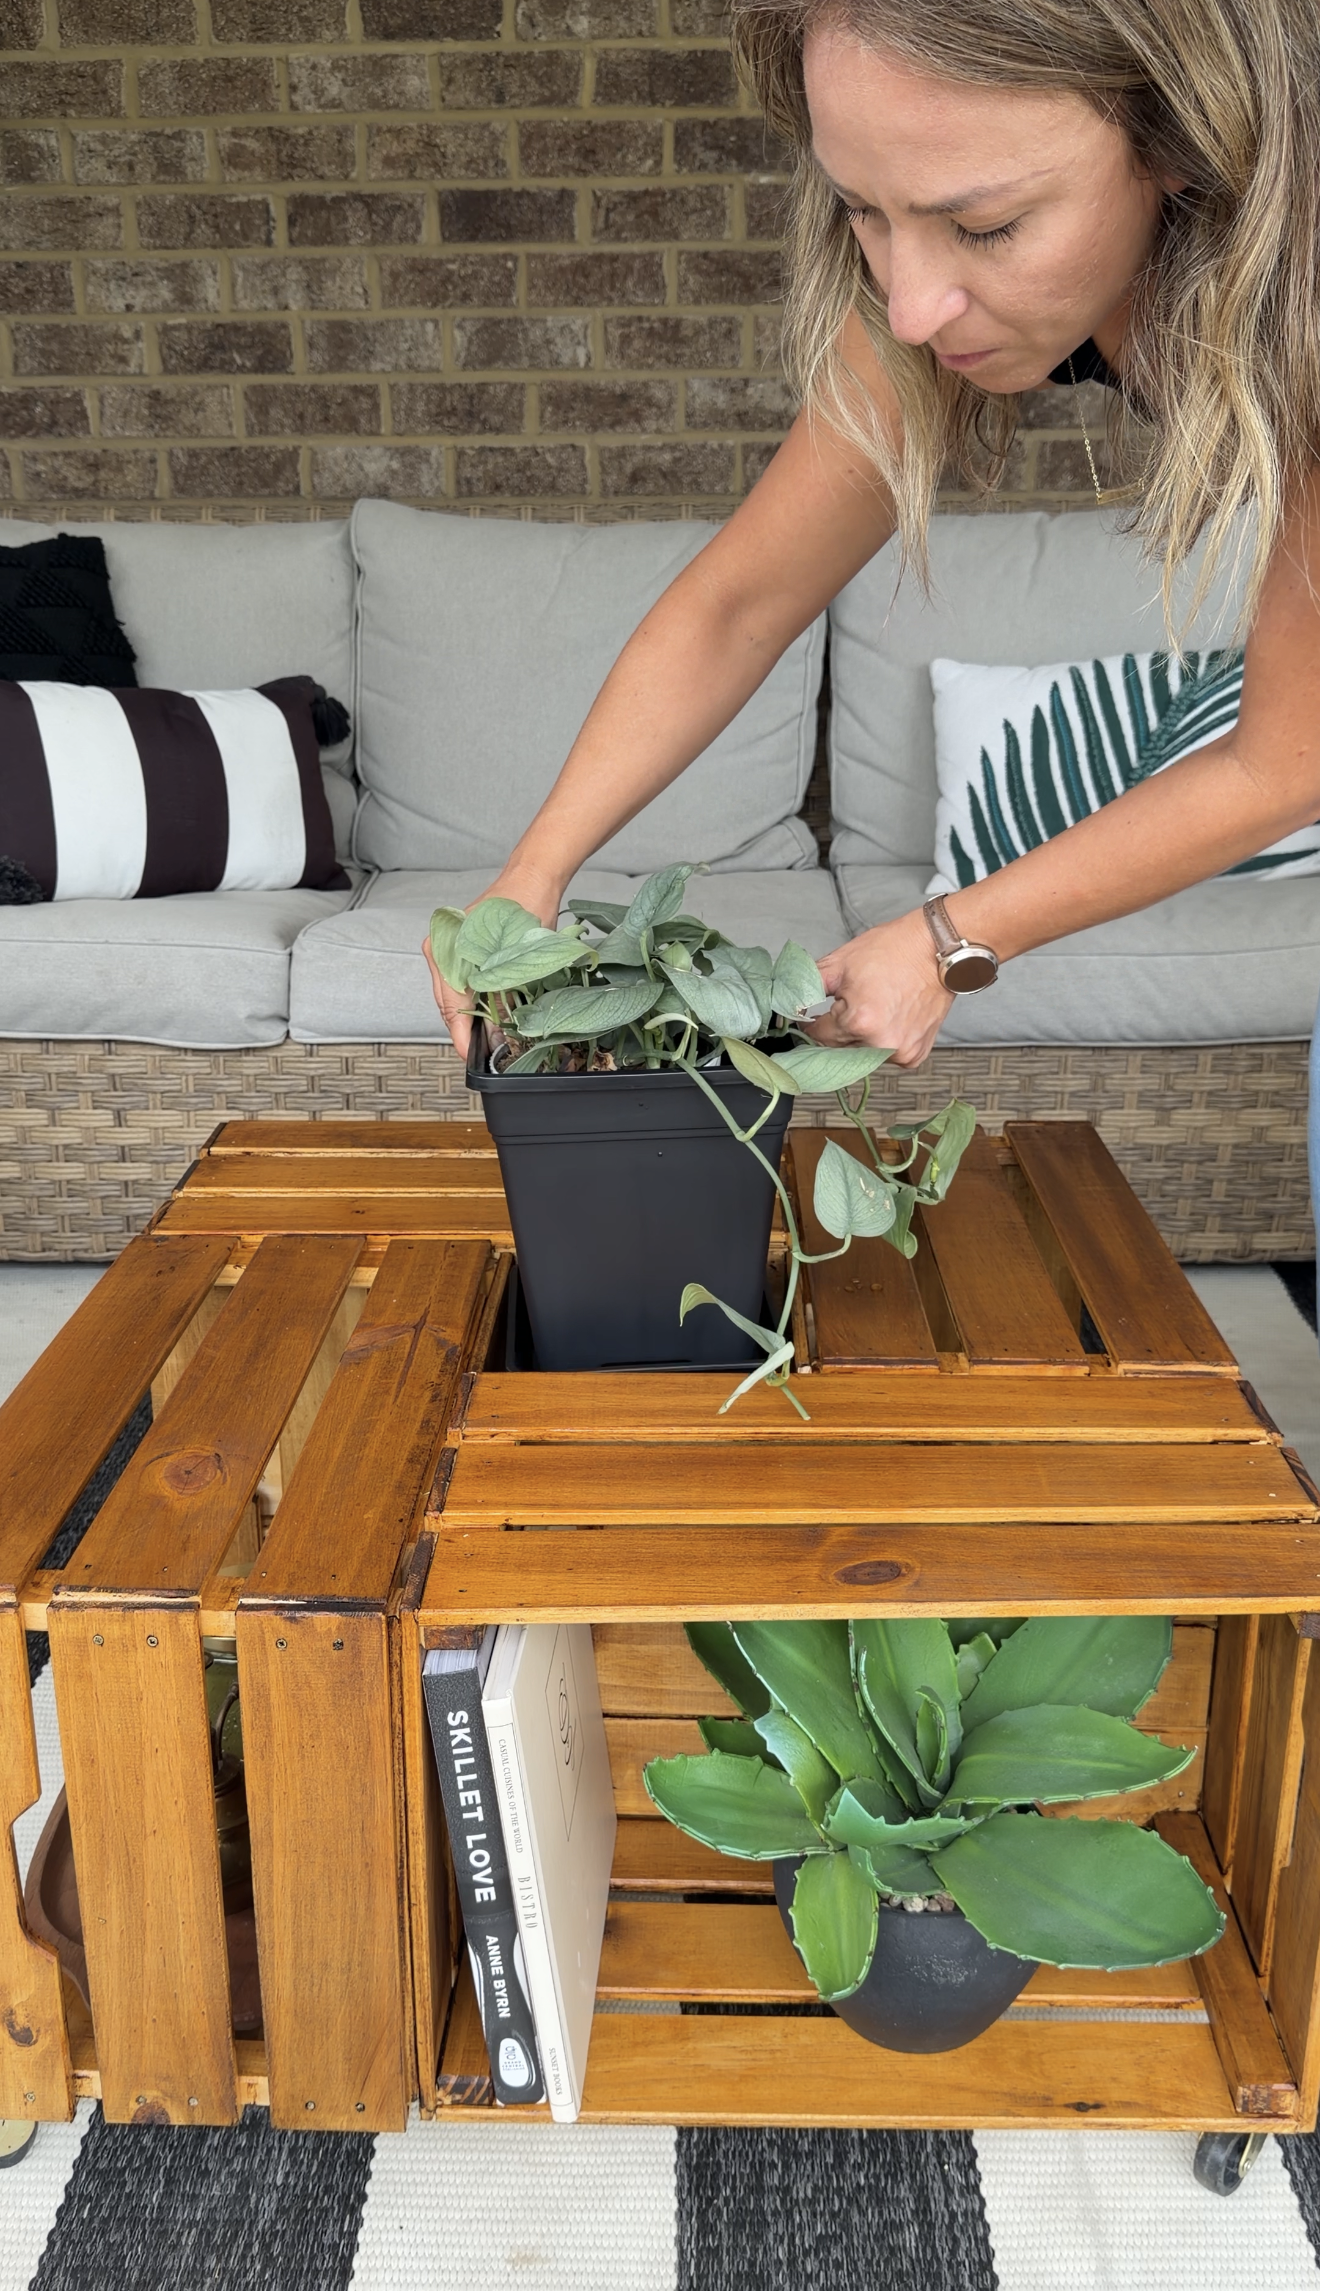
Living Planter: Drop in a multi-pack of colorful patio flowers, fresh herbs, or succulents.
Drink bucket: Drink bucket for sparkling wine, sodas, beer, etc!
Storage Hub: Use the four outer side cubbies to stash board games, patio blankets, or books.